Introduction
Running an AI server is no longer reserved for large companies, it is now open to everyone. If you are an enthusiast, developer, and privacy-conscious individual, then this blog is for you.
With the widespread availability of open-source Large Language Models (LLMs) and powerful consumer-grade GPUs, hosting your own AI is now easier than ever.
Whether it is for the privacy of your data, saving money, or for experimentation, this guide will show you step-by-step everything you need to build a fully functional and personal AI server from scratch.
Table of Contents
Why Build Your Own AI Server?
Before diving into hardware and software, it’s worth understanding what you actually gain from a private LLM setup versus relying on cloud services like ChatGPT or Claude.
Key benefits of running a local AI server:
- Local AI privacy: Your prompts, documents, and conversations never leave your home network. No third-party logging, no data sold to advertisers.
- Data-secure AI processing: Ideal for handling sensitive business documents, medical records, legal files, or proprietary code.
- No monthly subscription costs: After the initial hardware investment, inference is essentially free.
- Full customization: Fine-tune models on your own datasets, run multiple models simultaneously, or experiment with cutting-edge architectures.
- Always-on availability: No rate limits, no downtime, no dependency on an external API.
For professionals, freelancers, and small businesses dealing with confidential data, the privacy argument alone often justifies the setup cost.
Understanding Home Server Hardware in 2026
Choosing the right home server hardware is the single most important decision you’ll make. AI inference is GPU-bound, meaning your graphics card — not your CPU — will determine how fast your models run and which models you can run at all.
Read More: Neural Link Privacy: How to Protect Your Brain Data
Minimum vs. Recommended AI Server Hardware Specs
| Component | Minimum (7B Models) | Recommended (70B Models) |
|---|---|---|
| GPU | NVIDIA RTX 4060 (8GB VRAM) | NVIDIA RTX 4090 (24GB) or dual RTX 3090 |
| CPU | Intel Core i5-12th Gen / AMD Ryzen 5 7600 | Intel Core i9-14th Gen / AMD Ryzen 9 7950X |
| RAM | 32GB DDR5 | 64–128GB DDR5 |
| Storage | 1TB NVMe SSD | 2–4TB NVMe SSD |
| PSU | 750W 80+ Gold | 1000W+ 80+ Platinum |
| OS | Ubuntu 22.04 LTS | Ubuntu 24.04 LTS |
VRAM is king. A model’s size in gigabytes must fit within your GPU’s VRAM to run at full speed. A 7-billion-parameter (7B) model in 4-bit quantization needs roughly 4–5GB of VRAM. A 70B model needs approximately 40GB, which requires either a high-end single GPU or multiple cards.
AMD vs. NVIDIA for AI: NVIDIA remains the dominant choice thanks to CUDA support across virtually every AI framework. AMD’s ROCm platform has improved significantly in 2026, making cards like the RX 7900 XTX (24GB VRAM) a legitimate budget alternative — but expect slightly more setup friction.
Step-by-Step: How to Set Up a Personal AI Server at Home
This section provides the complete, numbered walkthrough. Follow these steps in order for the smoothest experience.
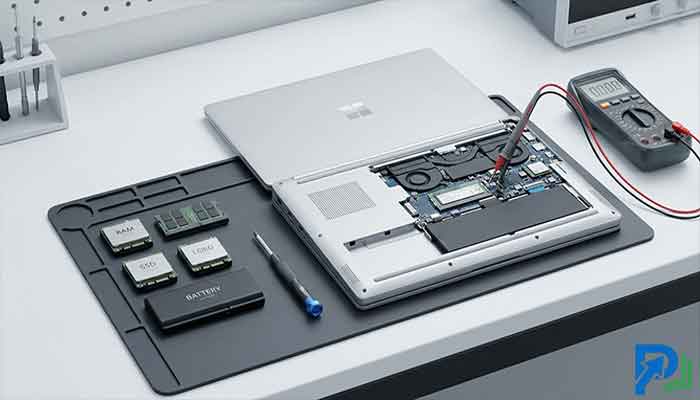
Step 1: Choose and Assemble Your Hardware
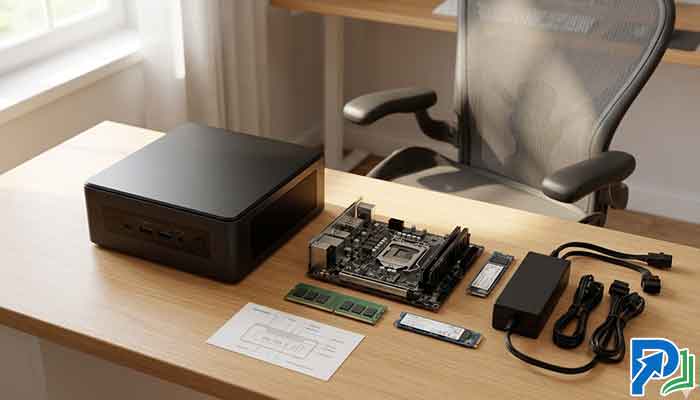
Start by selecting your components based on the table above. Prioritize GPU VRAM over everything else — you can always upgrade RAM or storage later, but swapping a GPU is costly.
- Desktop vs. repurposed workstation: Building a dedicated desktop gives you flexibility and upgradeability. Repurposing an old workstation (e.g., a Dell Precision or HP Z-series) can save money but may limit GPU slot availability.
- Cooling: AI workloads sustain near-100% GPU utilization for extended periods. Invest in a quality CPU cooler and ensure your case has strong airflow.
- Networking: Connect your server via Ethernet, not Wi-Fi. A stable gigabit connection ensures fast local network access from other devices.
Step 2: Install Your Operating System
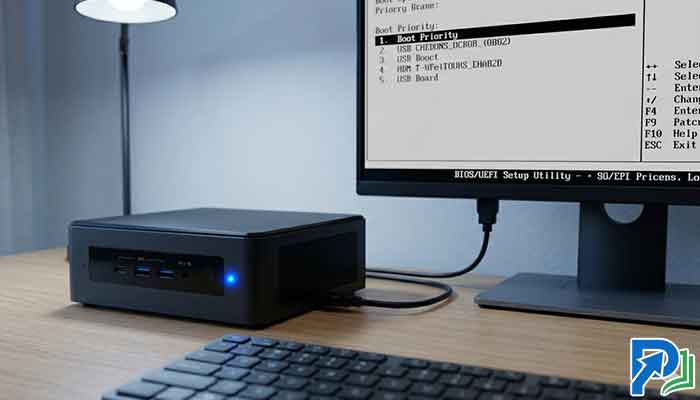
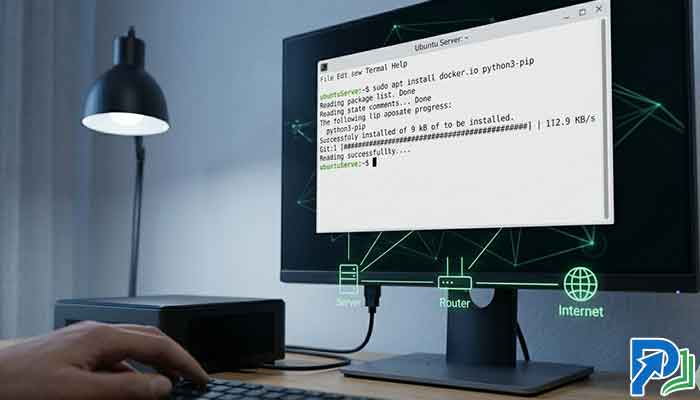
Ubuntu 24.04 LTS is the recommended OS for a home AI server in 2026. It has native support for NVIDIA drivers, Docker, and most AI tooling.
- Download the Ubuntu 24.04 LTS ISO from the official Ubuntu website.
- Flash it to a USB drive using Balena Etcher or Rufus.
- Boot from the USB and follow the installer. Choose Minimal Installation to keep the system lean.
- After installation, run:
sudo apt update && sudo apt upgrade -y
Step 3: Install NVIDIA Drivers and CUDA
This step is critical. Incorrect or missing drivers are the #1 cause of failed AI server setups.
# Check available drivers
ubuntu-drivers devices

# Install the recommended driver (e.g., 550)
sudo apt install nvidia-driver-550 -y
sudo reboot

# Verify installation after reboot
nvidia-smi
You should see your GPU listed with its VRAM displayed. If nvidia-smi returns an error, double-check that Secure Boot is disabled in your BIOS — it can block driver loading.
Install CUDA Toolkit (required by most AI frameworks):
sudo apt install nvidia-cuda-toolkit -y
Step 4: Install Docker and the NVIDIA Container Toolkit
Docker makes deploying AI model servers dramatically easier and keeps your system clean.
# Install Docker
curl -fsSL https://get.docker.com -o get-docker.sh
sudo sh get-docker.sh

# Install NVIDIA Container Toolkit
distribution=$(. /etc/os-release; echo $ID$VERSION_ID)
curl -s -L https://nvidia.github.io/nvidia-container-runtime/gpgkey | sudo apt-key add -
sudo apt install nvidia-container-toolkit -y
sudo systemctl restart docker
Verify Docker can see your GPU:
sudo docker run --rm --gpus all nvidia/cuda:12.0-base nvidia-smi
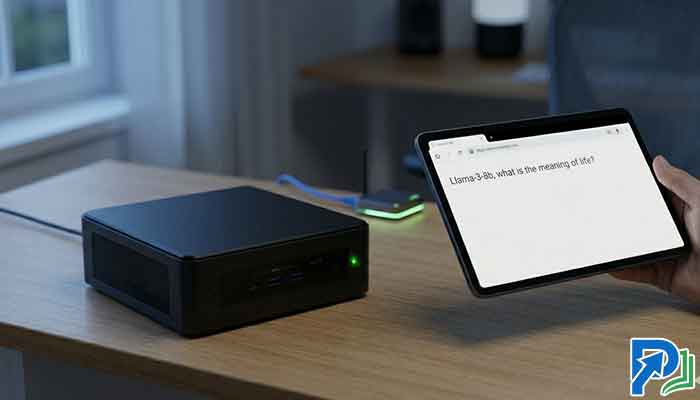
Step 5: Deploy Ollama for Local LLM Hosting
Ollama is the most user-friendly solution for hosting your own AI locally in 2026. It handles model downloads, GPU offloading, and serves a local REST API automatically.
# Install Ollama
curl -fsSL https://ollama.com/install.sh | sh

# Pull and run a model (Llama 3.1 8B as an example)
ollama run llama3.1
Ollama will download the model and drop you into an interactive chat session directly in your terminal. It automatically uses your GPU if CUDA is properly configured.
Popular models to try in 2026:
llama3.1— Meta’s flagship open model; great general-purpose performancemistral— Excellent for coding and instruction-followingdeepseek-coder-v2— Top-tier for software development tasksphi3— Lightweight; ideal for lower-VRAM setups
Step 6: Set Up a Web UI for Your AI Server
Ollama’s terminal interface is great, but most users prefer a browser-based chat UI. Open WebUI (formerly Ollama WebUI) is the community standard.
docker run -d \
  -p 3000:8080 \
  --add-host=host.docker.internal:host-gateway \
  -v open-webui:/app/backend/data \
  --name open-webui \
  --restart always \
  ghcr.io/open-webui/open-webui:main
Navigate to http://localhost:3000 (or your server’s local IP address) from any device on your home network. You’ll get a ChatGPT-style interface connected to your local models.
Step 7: Secure Your AI Server
A home AI server exposed without security is a risk. Even on a local network, you should implement basic hardening.
- Firewall: Enable UFW and restrict access to only the ports you need:
sudo ufw allow sshsudo ufw allow 3000/tcpsudo ufw enable - SSH Key Authentication: Disable password-based SSH login. Use key pairs only.
- VPN for Remote Access: If you want to access your AI server from outside your home, use Tailscale or WireGuard rather than exposing ports to the internet.
- Regular Updates: Run
sudo apt update && sudo apt upgradeweekly to patch security vulnerabilities.
Step 8: Optimize for Performance
Once your AI server is running, fine-tune it for speed and reliability.
- Quantization: Run models in GGUF 4-bit or 8-bit quantization to reduce VRAM usage with minimal quality loss. Ollama handles this automatically for most models.
- Context length: Longer context windows require more VRAM. Start with the model defaults and increase only if needed.
- Concurrent requests: For multi-user setups, configure Ollama’s
OLLAMA_NUM_PARALLELenvironment variable to handle multiple simultaneous requests. - Model caching: Keep frequently used models loaded in VRAM with Ollama’s
keep_aliveparameter to eliminate reload delays.
Private LLM Setup: Advanced Use Cases
Once your base AI server is operational, the possibilities expand significantly.
Running Multiple Models Simultaneously
Ollama supports loading multiple models and switching between them via API. Pair it with LiteLLM as a proxy layer to expose a unified OpenAI-compatible endpoint — allowing apps built for ChatGPT to use your local models without code changes.
Connecting Your AI Server to Local Documents (RAG)
Retrieval-Augmented Generation (RAG) lets your AI answer questions based on your own files. Tools like AnythingLLM or LlamaIndex integrate with Ollama to build a private knowledge base from your PDFs, notes, and documents — with zero data leaving your home.
Automating Workflows with Local AI
Connect your AI server to automation platforms like n8n (self-hosted) via its REST API. Build workflows that summarize emails, draft responses, classify documents, or monitor news feeds — all processed locally with full data-secure AI processing.
Estimated Costs for a Home AI Server Build in 2026
| Build Tier | GPU | Est. Total Cost | Best For |
|---|---|---|---|
| Budget | RTX 4060 (8GB) | $600–$900 | 7B models, light usage |
| Mid-Range | RTX 4070 Ti (12GB) | $1,200–$1,600 | 13B models, daily driver |
| High-End | RTX 4090 (24GB) | $2,500–$3,500 | 70B models (quantized), multi-user |
| Enthusiast | Dual RTX 3090 (48GB) | $3,000–$4,500 | Full 70B precision, fine-tuning |
Cloud API costs for comparable usage often exceed $100/month. Most mid-range builds pay for themselves within 12–18 months of active use.
Common Pitfalls and How to Avoid Them
- Not enough VRAM: The most common beginner mistake. Always check a model’s VRAM requirements before purchasing hardware.
- Skipping driver verification: Unverified drivers cause silent failures where models appear to load but run on CPU instead of GPU — 50x slower.
- No UPS (Uninterruptible Power Supply): Sudden power cuts can corrupt model files mid-download. A basic UPS protects your investment.
- Overlooking cooling: Sustained AI inference generates significant heat. Monitor GPU temperatures with
nvidia-smi dmonand ensure they stay below 83°C.
Conclusion
Building a personal AI server at home in 2026 is one of the most empowering tech projects you can undertake. It gives you complete ownership over your data, eliminates subscription costs, and opens the door to capabilities cloud services simply can’t offer — custom fine-tuning, fully private LLM setup, and deep integration with your local workflows.
By following the steps in this guide — from choosing the right home server hardware to deploying Ollama and securing your system — you can have a production-ready, data-secure AI processing environment running within a weekend. The open-source ecosystem has never been more mature, and the hardware has never been more accessible. There’s no better time to take control of your AI stack.
Frequently Asked Questions (FAQs)
Reference:
- Ollama Official Documentation: https://ollama.com/docs
- Open WebUI GitHub Repository: https://github.com/open-webui/open-webui